All About Chair Rail Moulding
Chair rail moulding adds a decorative touch of elegance to any room. In modern times, chair rail is a chic design feature, but historically it was applied in dining rooms to protect plaster walls from being dinged by chairs – hence the name.
Today, chair railing has been freed from utilitarian constraints and can be used in every room of the home. Designers and architects use it along with panel mold to add dimension to otherwise flat walls. They also use chair rail to delineate changes in wall color or covering.
Adding chair rail moulding to a room doesn’t just add style, it also adds resale value to your home. Chair rail moulding is routinely listed as one of the top ten features home buyers want in a new home.
Chair Rail Placement
To maximize the impact that chair rail will have on a room, it needs to be installed at the ideal height for that room. As with all things having to do with design, there are no hard and fast rules, but there are a few good guidelines.
Experts recommend installing it no higher than the lower third of the room. Meaning that for a room with a ceiling height of eight feet, the chair rail would be no higher than 32 inches from the floor. In rooms with higher ceilings, the chair rail could be higher, but not higher than 48 inches.
Chair rail should catch the eye and add dimension to the room, but it should not make the room seem smaller. Installing chair railing too high will visually shrink the room.
In new construction, it is ideal for windows to be sized such that the lower edges can be in line with chair rail. However, if existing windows aren’t as low as the chair rail needs to be, that’s fine. Let the chair rail run below the window sill.
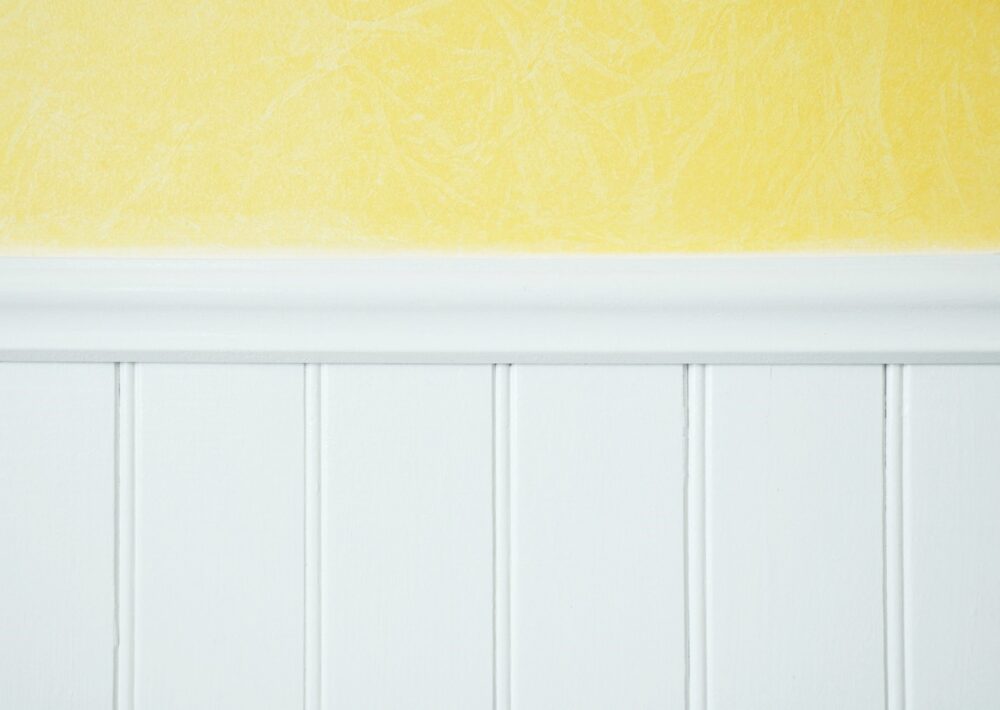
Chair Rail and Wainscoting
Chair rail looks great as a stand-alone accent to a room. But, it also looks amazing when paired with wainscot. Wainscot is a type of decorative paneling that usually covers the lower third of a wall, giving it texture and durable dimension. The top and bottom edges of wainscot are blunt and so need to be finished. Chair rail or specially designed wainscot cap are both ideal toppers for wainscot, giving it a superior finishing touch.
Chair Rail Designs
Chair rail comes in a variety of styles, widths, and profiles. While selecting chair rail designs or styles is a matter of taste, there are a few guidelines to help make sure the railing accents and doesn’t overpower the room.
Here again, the height of the ceiling is key. For ceilings that are eight feet high, a chair rail that is no wider than four inches is best. Rooms with higher or vaulted ceilings can handle chair railing that is up to seven inches wide.
Some popular moulding mill styles that would work well in any room and where a thinner rail is needed would be Gillette, Big Sky, Cody, Grey Bull, Byron, Beaded, Tallac, and Spokane. Going up to three or more inches wide are styles like Carmel, Lancaster, Kellogg, Ketchum, and Monterey. (For the comparison shopping convenience of both homeowners and contractors in our California service areas, samples of all of these styles are available in our showrooms. Or shop online now!)
Each of these mill styles has a different profile, which relates to how far they protrude into the room from the wall surface. Smaller rooms might benefit from a lower profile rail design than larger rooms. However, again this is more a matter of personal taste and is not as important a decision as the height of placement and width of the railing.
One guide for selecting profile as well as width would be knowing ahead of time whether any existing trim around windows and doors in the room will be specially designed, as well. Ideally, it is better to make sure the chair rail is slightly thinner than window casing. The style of the chair rail should also match or blend nicely with all door trim and window casing and not clash.
Installing Chair Rail
Chair rail is one of the easier home improvement accents to install. We’ve outlined the basic steps here, but you may also want to consult with a knowledgeable contractor to do the work for you.
- Measure the length of walls to be railed to determine how much chair railing is needed.
- Near the corner of each wall, you will need to measure from the floor up to the height at which the chair rail will be installed and make a mark. Use a snap chalk line stretched along the wall between two corners at that height to mark the chair rail placement. A laser level can also be used to mark that line.
- Measure the length of the wall to be railed, and cut railing to that length. Then, using a miter box or miter saw, cut the end that will enter a corner at a 45-degree angle such that this railing and the adjacent wall’s railing will fit nicely together in their shared corner.
- Use a stud finder to identify stud locations and be sure to nail into the studs when installing the chair rail. For a polished look, use finishing nails. When installing wide railing, use two nails per stud, making sure that they are nicely spaced one directly above the other.
- If there are spaces where the wall is not perfectly flat, which creates a gap between the wall and the chair rail, or if you need to clean up a corner join, use painters caulk to fill in the gaps before painting the rail. (Check out the video below to learn more about preparing trim for installation.)
For even more information about chair rail selection, designs, and installation, contact us at The Moulding Company for the best advice right away, or simply stop by one of our convenient California showrooms!